|
 |
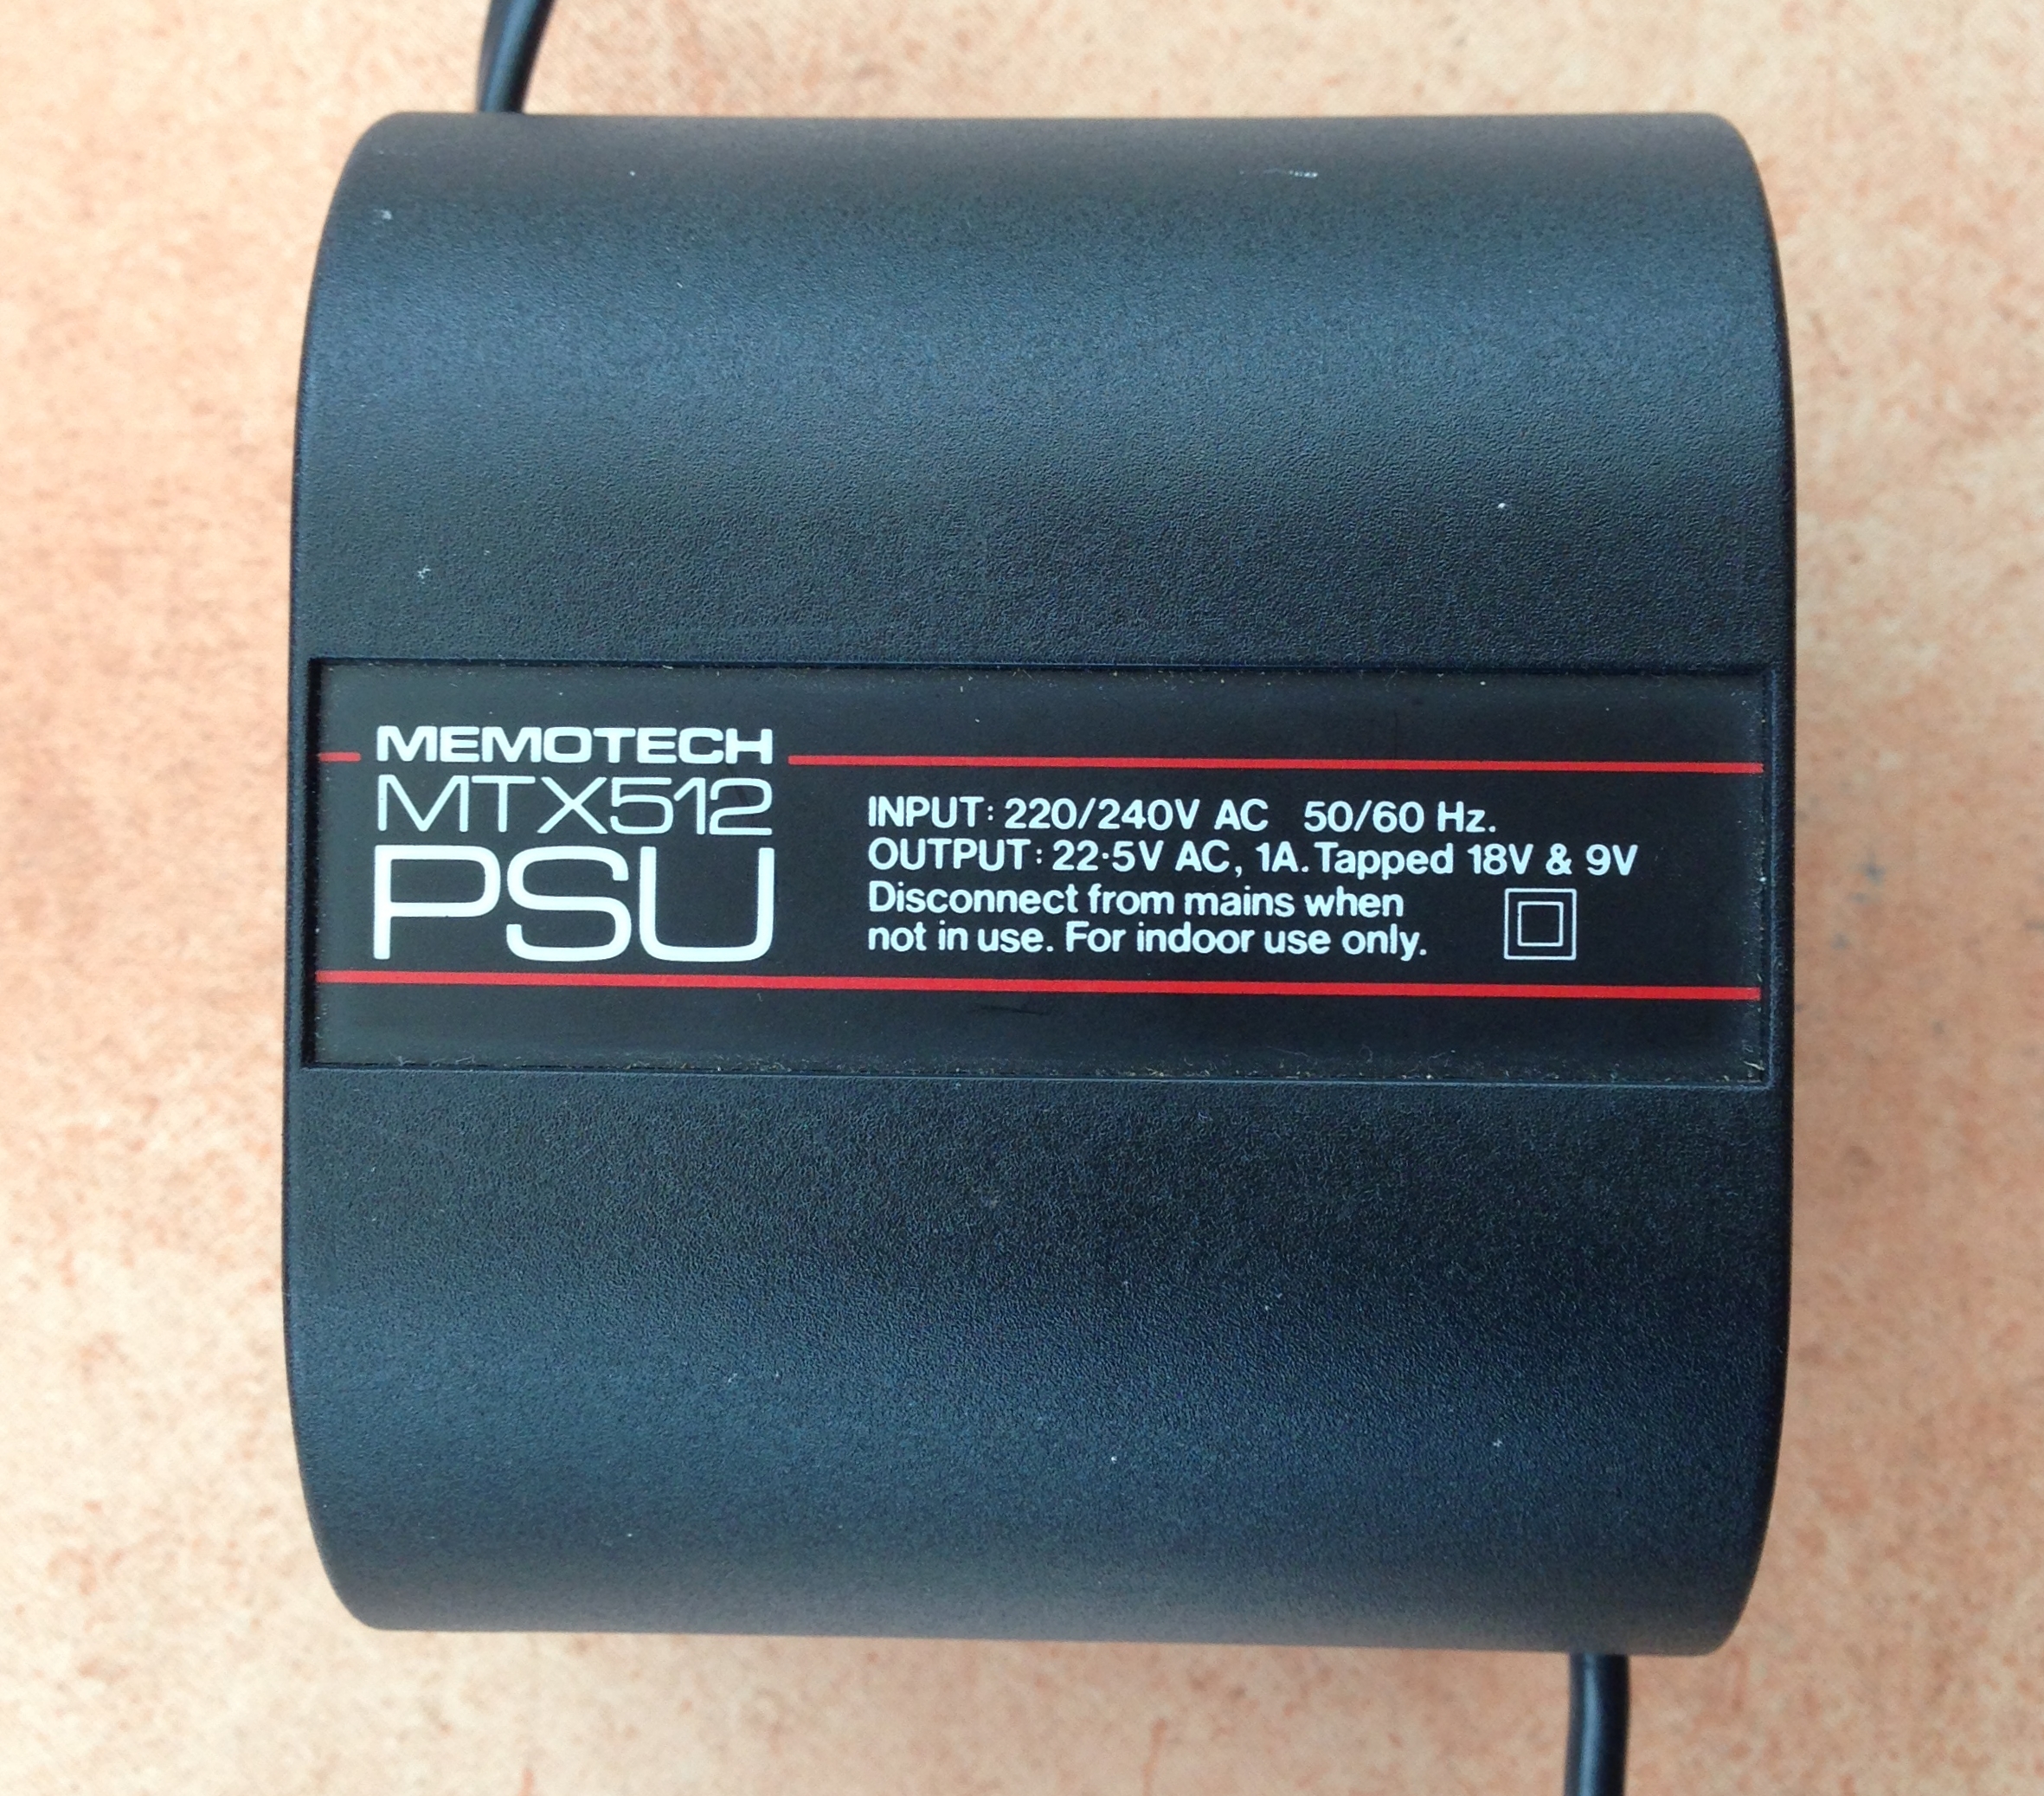
The Memotech MTX Series |
 |
MTX PSU Disassembly

This page provides basic guidance for opening up your MTX
PSU.
The PSU is formed of two ABS plastic half shells which
enclose a multi-tap transformer and mains power switch, there
are no active components inside. If the PSU has a fault such
that the expected voltages
cannot be measured on the pins of the MTX power connector and the
problem is not caused by a broken connection on either the mains
or low voltage sides of the transformer, then it is probably
beyond repair, almost certainly a case of "no user serviceable
parts inside" !
There are four square pads on the bottom of the case that
might fool you into thinking that they are hiding screws beneath
them, that's a red herring, the feet are just to protect the
surface that the PSU is going to sit on, the two halves of the
case are clipped together. In some cases, it has been found that
additional glue has been applied to the clips, meaning that
splitting of the case halves is not always easy.
|
Opening the case |
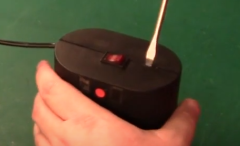
This video by a YouTuber called
NatureAndTech suggests that getting the case
open is pretty easy - but, whilst the principle is
right, it is not quite as easy in practice.
Click on the image to open the video on YouTube |
 |
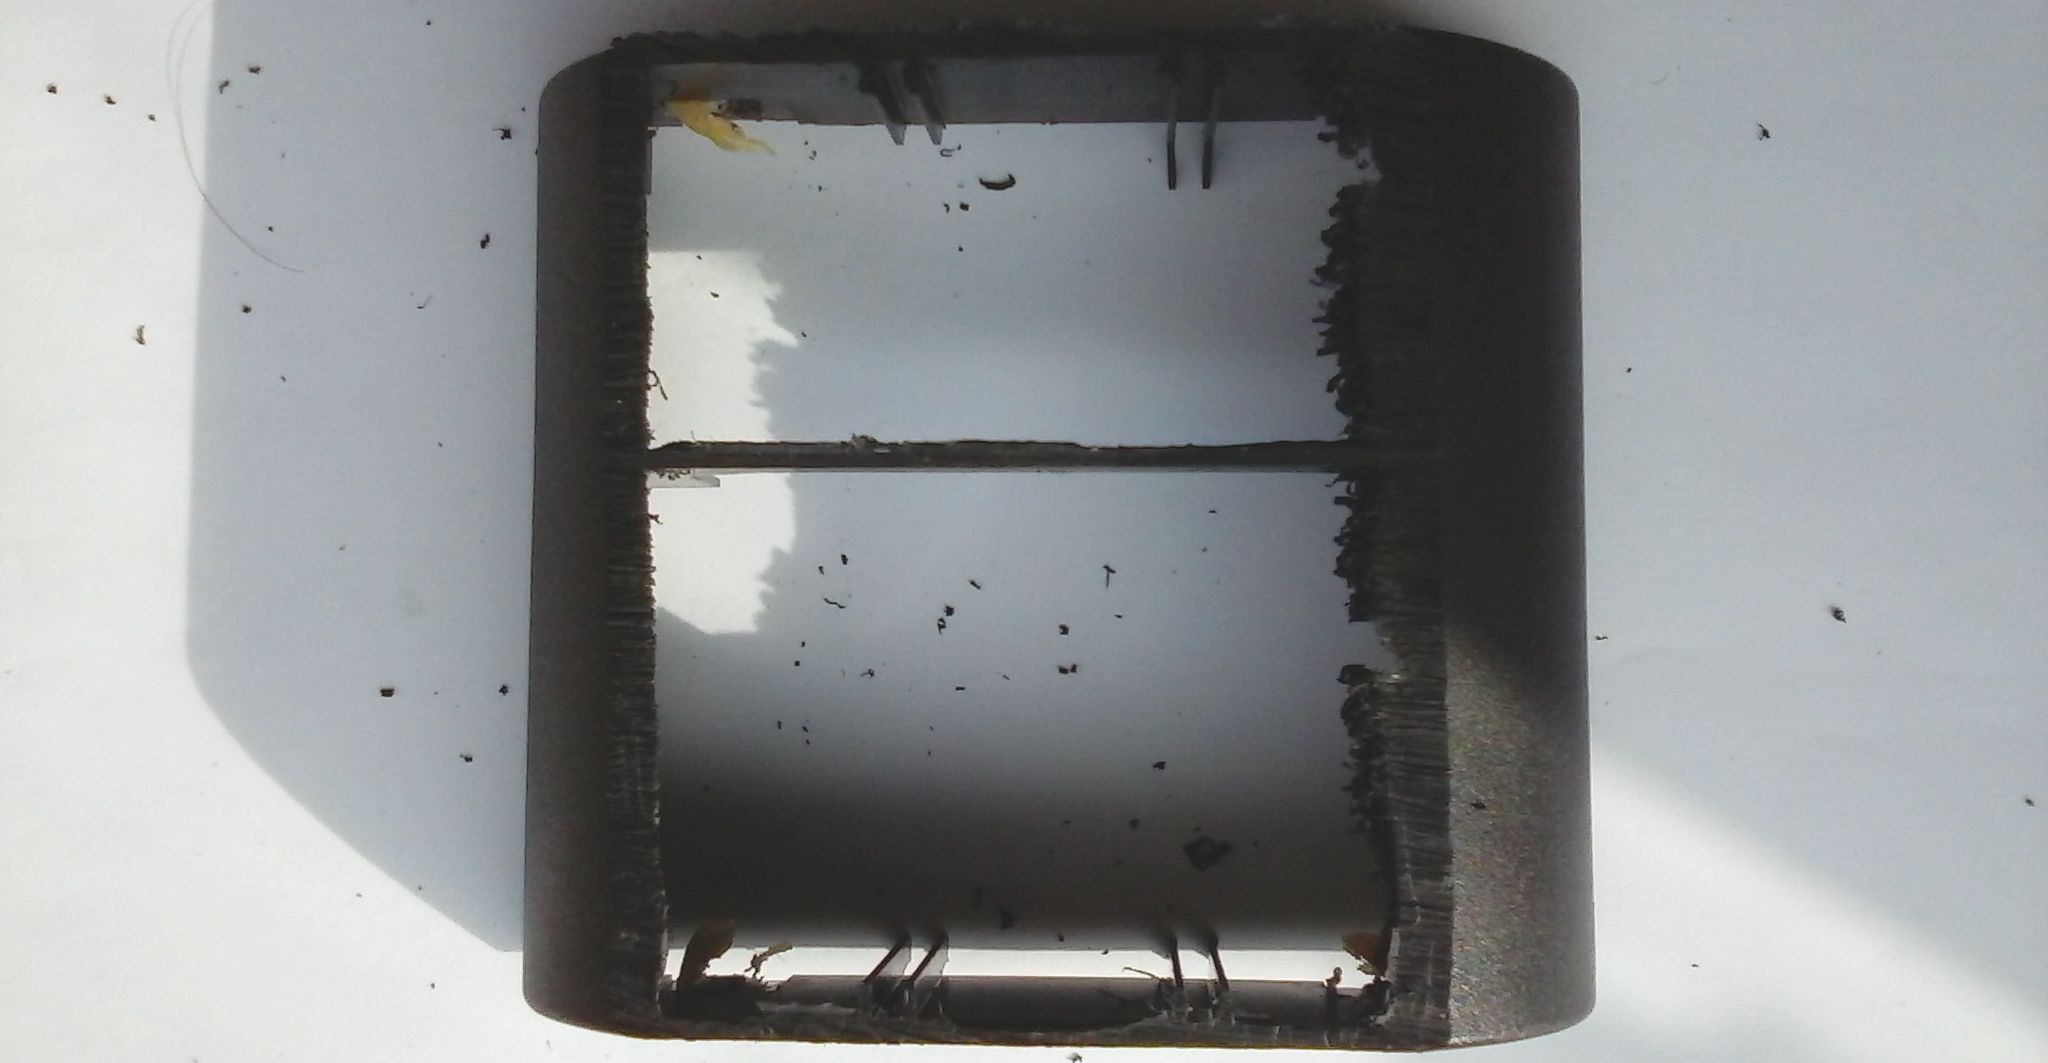
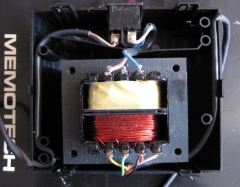
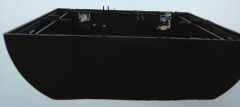
This photo, taken directly from above, shows the
internals of the PSU. You can just about make out
the two clips at the top and bottom of the shell.
However, it is not clear from the top view, how
close the transformer and its terminals are to the
flat surface of the shell. |
 |
Bill Brendling has kindly shared his experience
and photos that he took when trying to open the case
of his faulty MTX PSU.
Being unable to prise
the case open, Bill concluded that there was no way
of getting into it without causing damage and
decided to carefully slice off the top of the case. |
 |
At the left, you can just make out the thin
sliver sliced off the top off the case.
Unfortunately, the input and output side wiring have
both been damaged in the process, fortunately, the
transformer itself was not.
With the benefit
of hindsight, Bill suggests that anyone attempting
something similar cut around at about 15mm above the
centreline, being careful to only cut the box, and
not in towards the centre. |
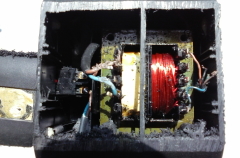 |
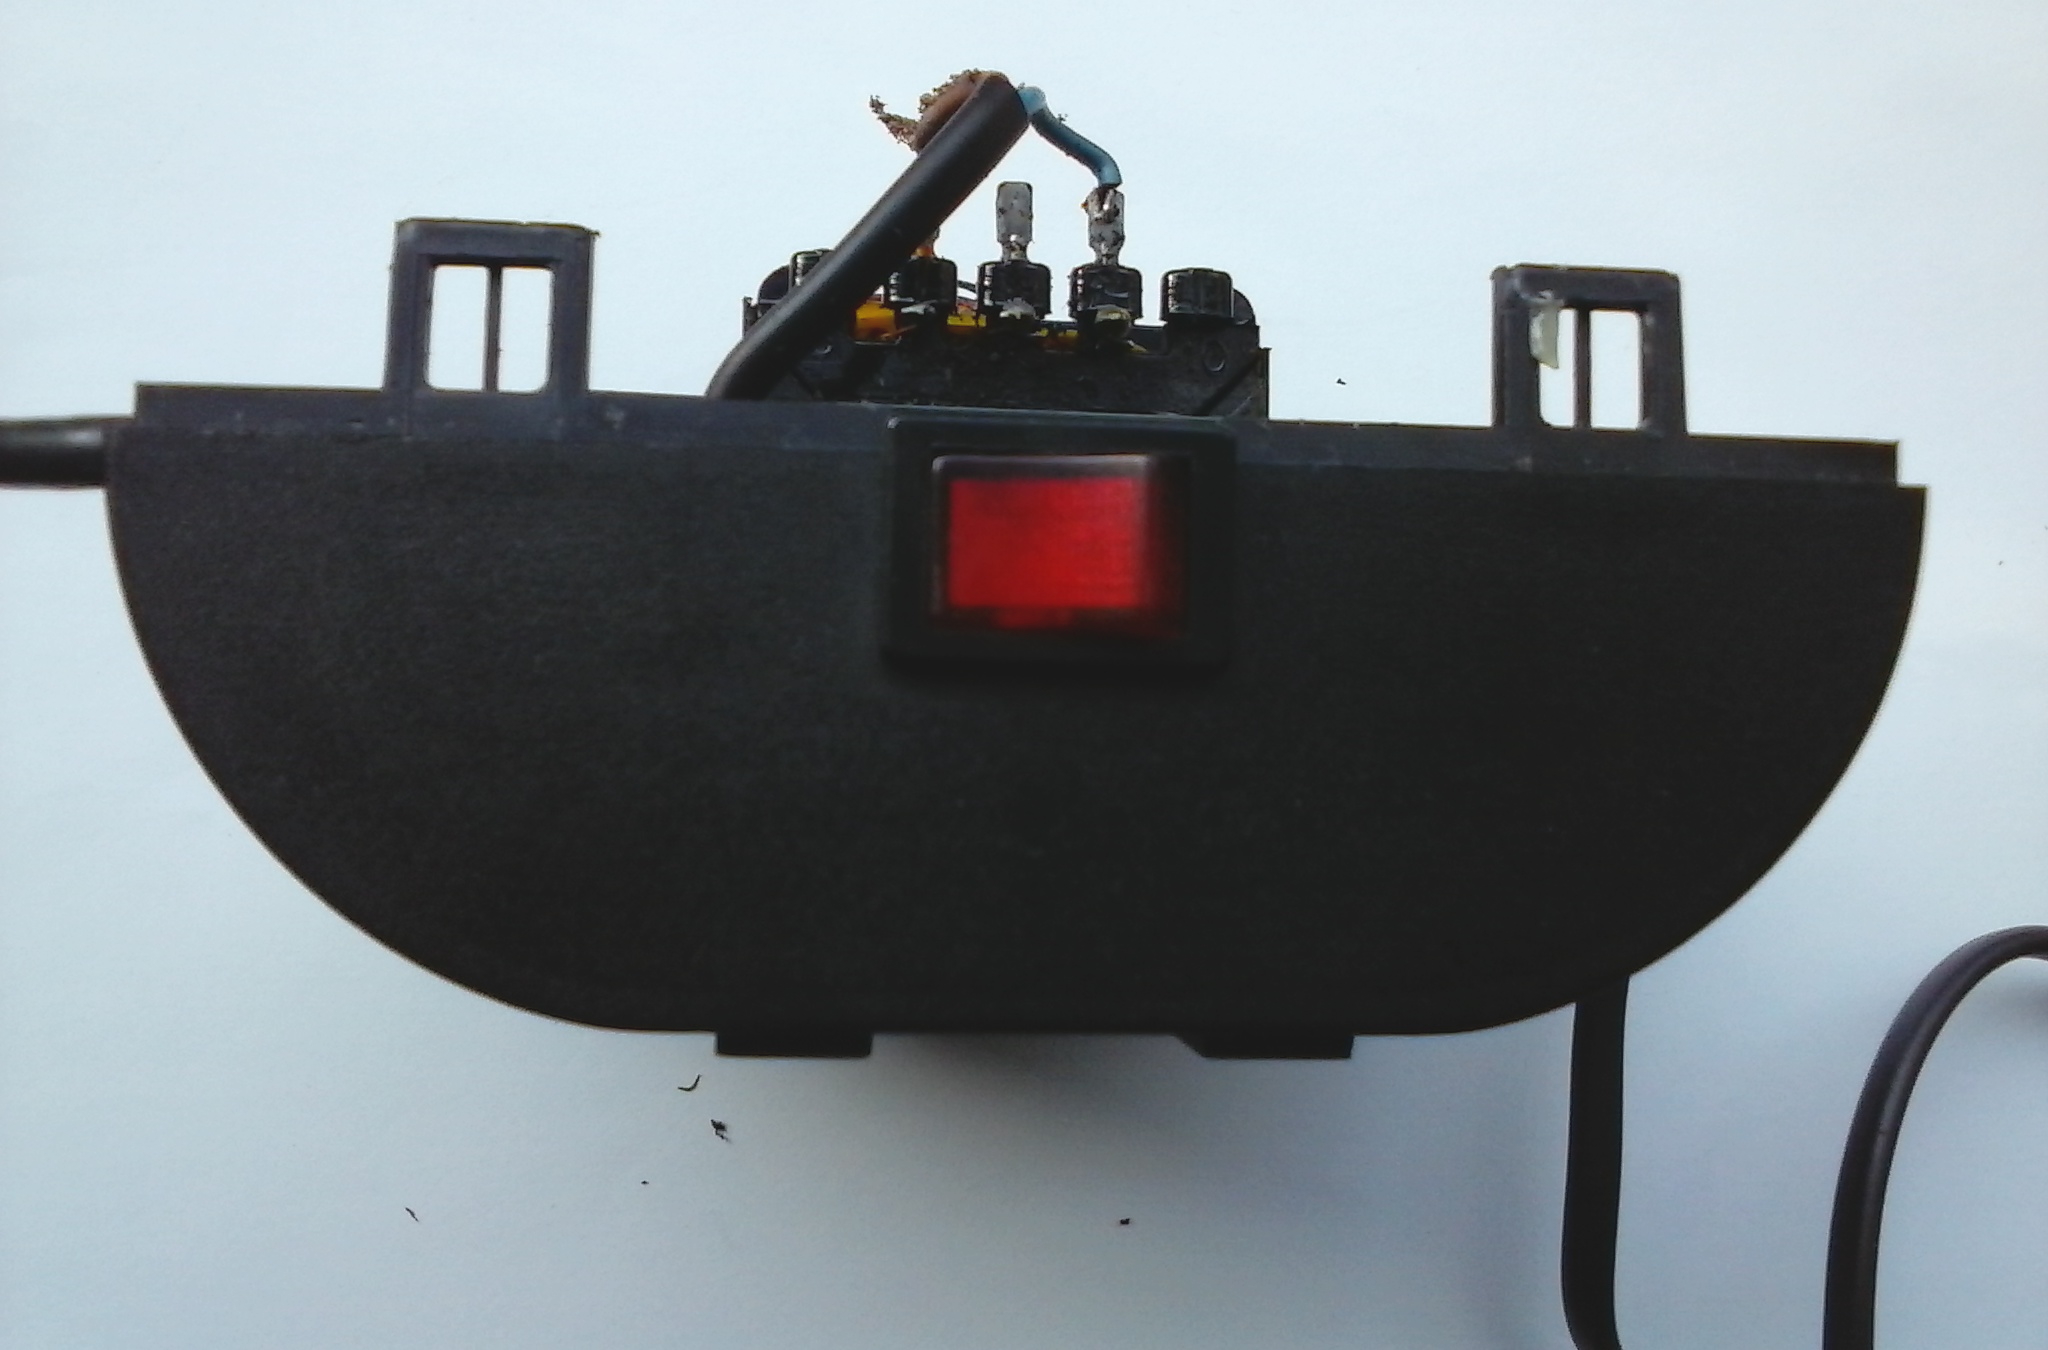
Profile view with the top removed, showing how
the mains cable extends well into the top half of
the shell.
You can also see the clips which
secure the two halves of the case. There are four
plastic lugs with square holes that the the lugs in
the top half clip into. |
 |
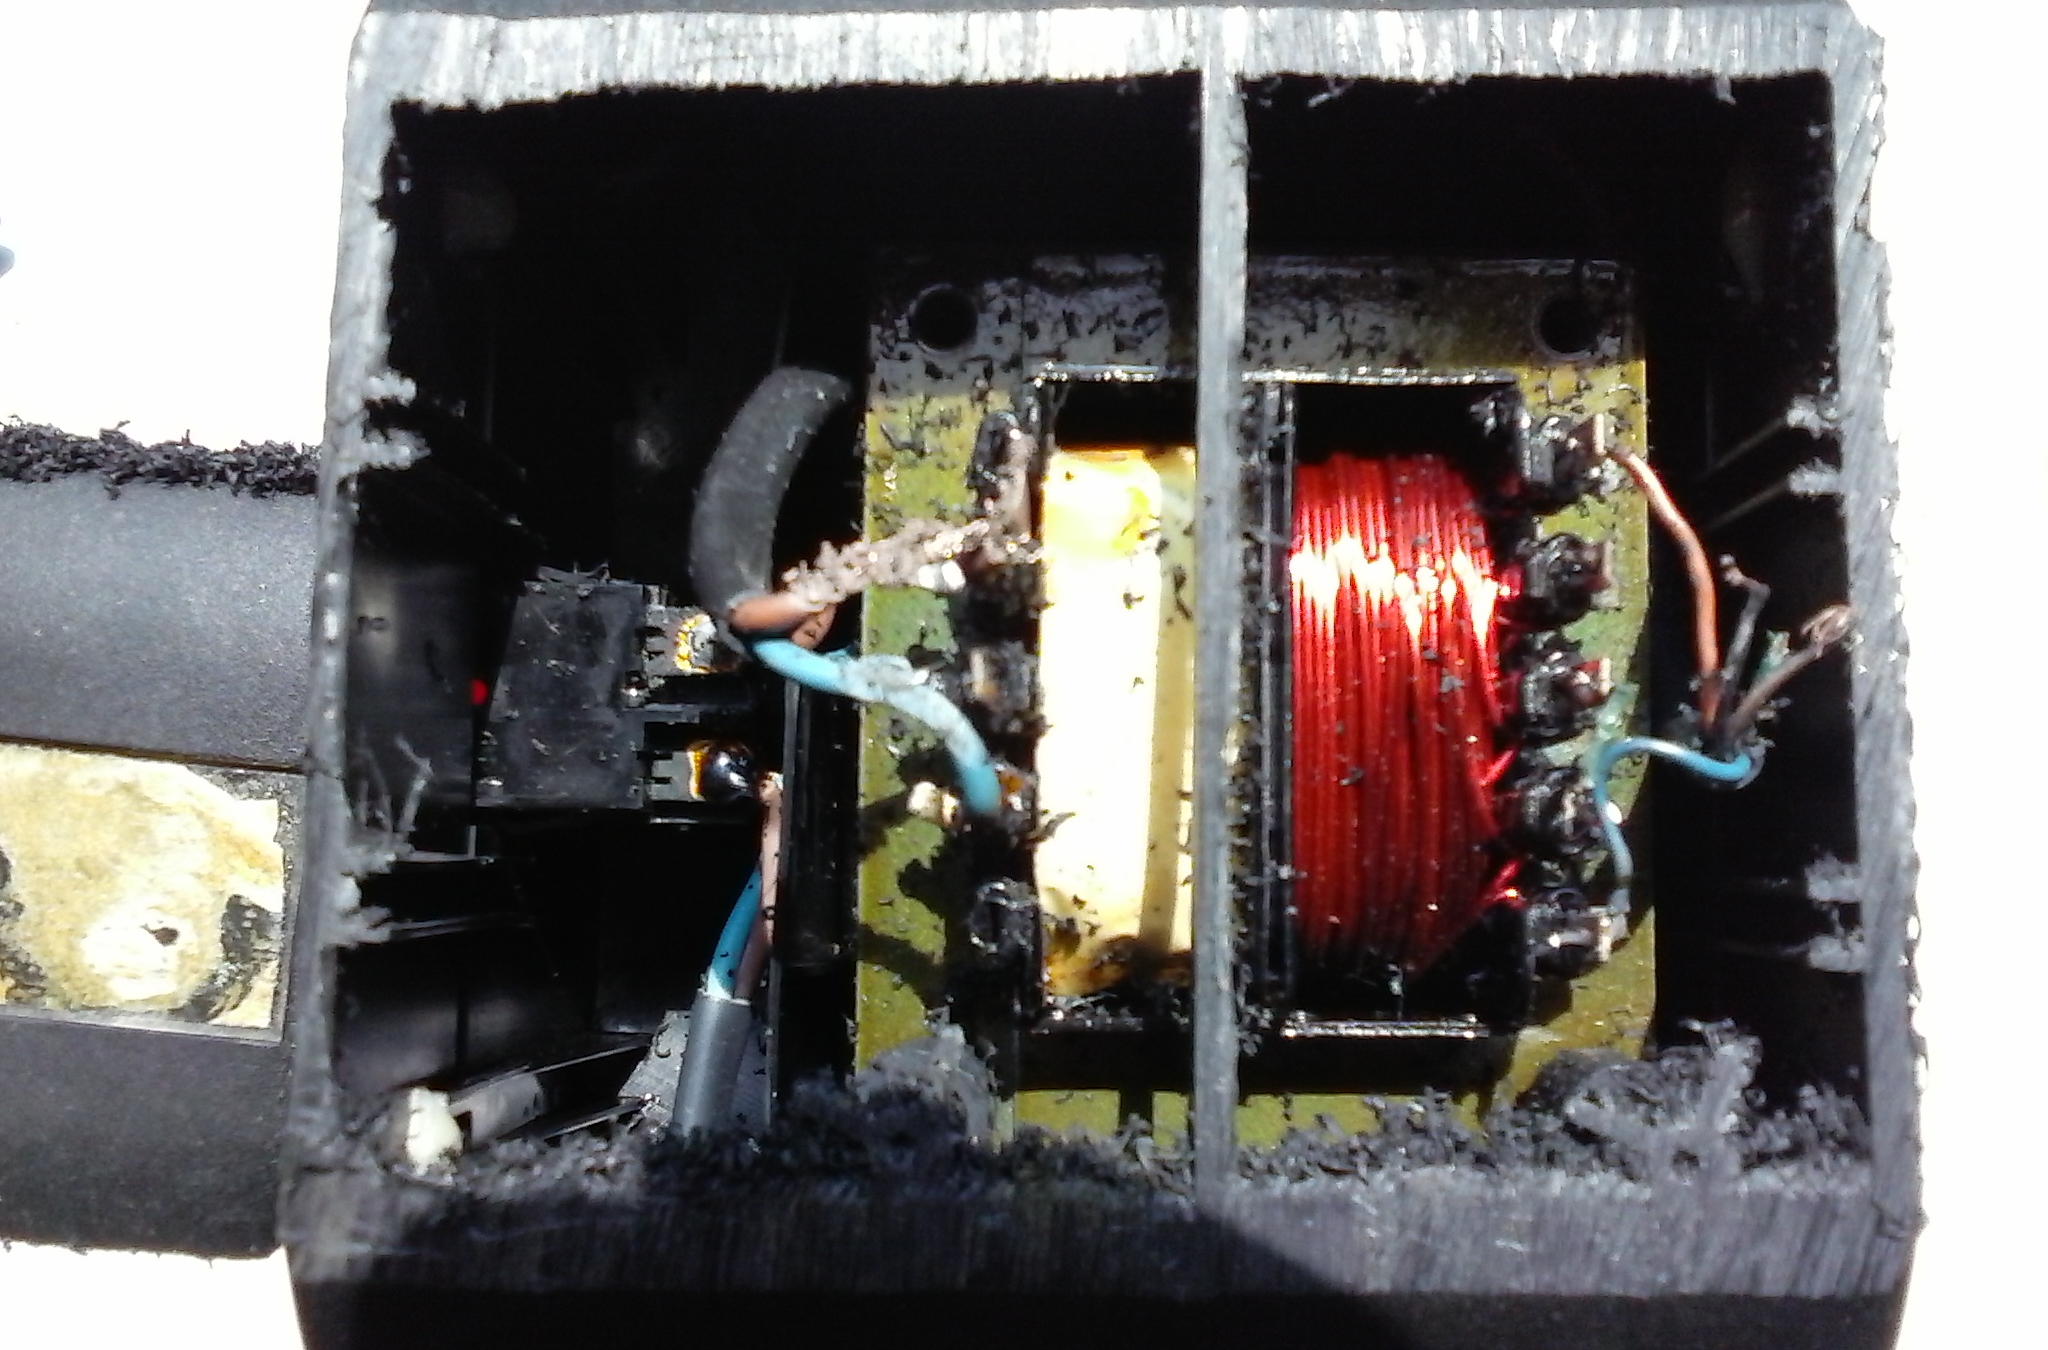
The transformer, with attached mains switch,
after removal from the case.
You can see how
the mains and low voltage wiring have been damaged. |
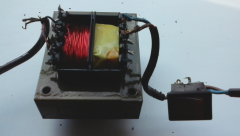 |
Photo of the lower part of the shell, with the
PSU removed.
In the full size photo, you can
just make of the remnants of what looks like "hot"
glue on the clips. |
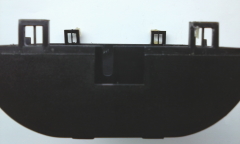 |
Photo of the top part of the shell, with the PSU
removed.
Again, you can just about make out
the remnants of the glue used on the clips. The lugs
that would mate with the square holes have been cut
off. |
 |
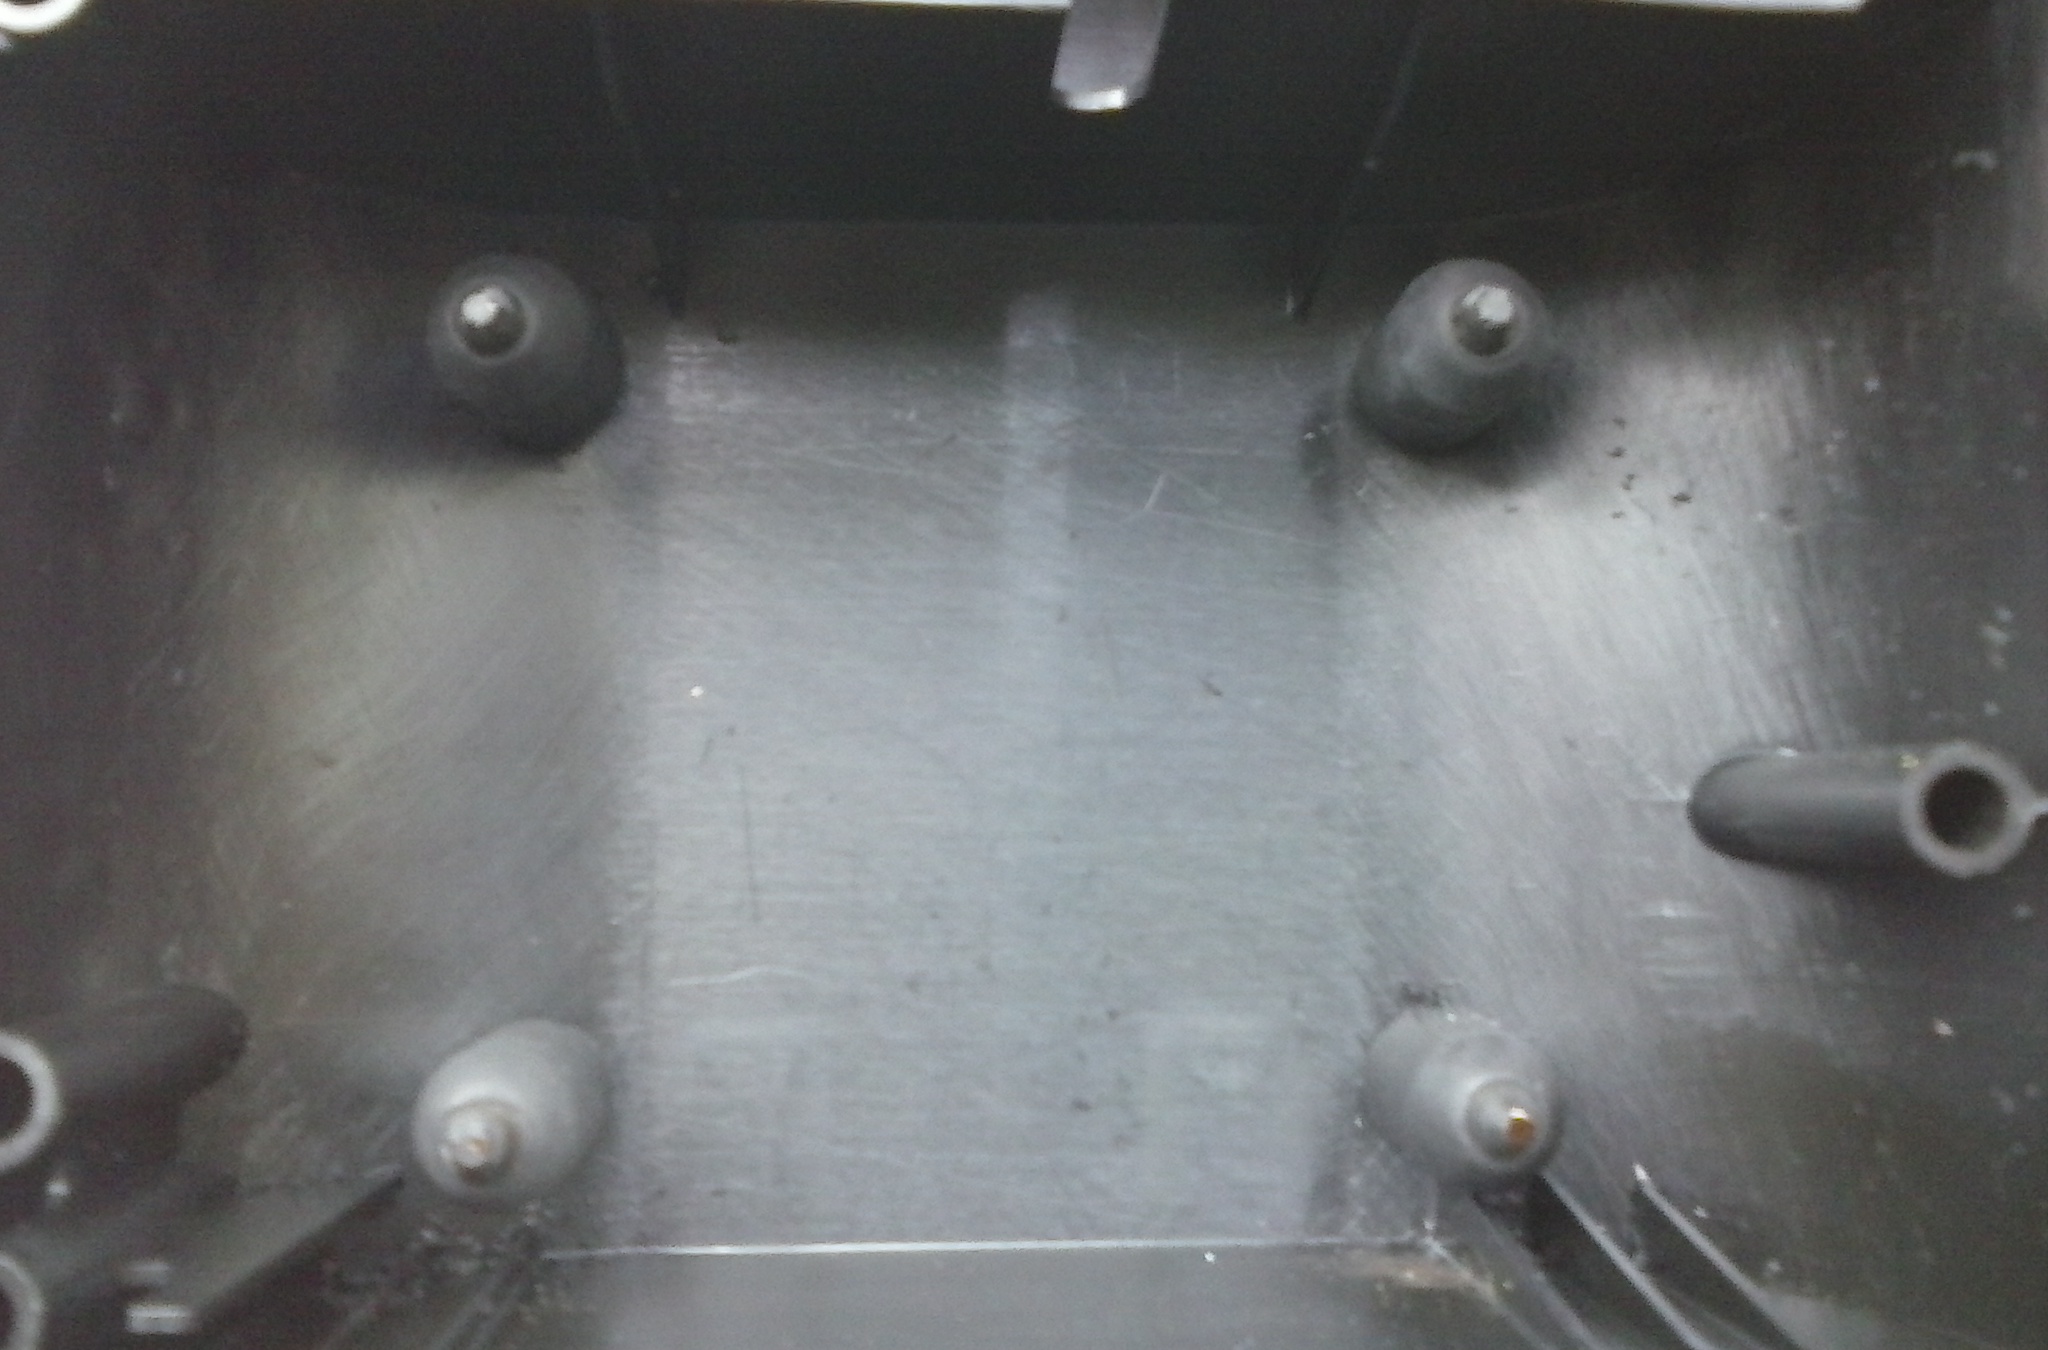
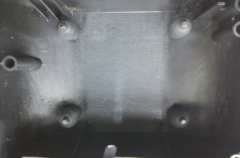
| Bottom of the case, with the internals removed,
you can see the four rubber shock mounts that the
transformer normally sits on. |
 |
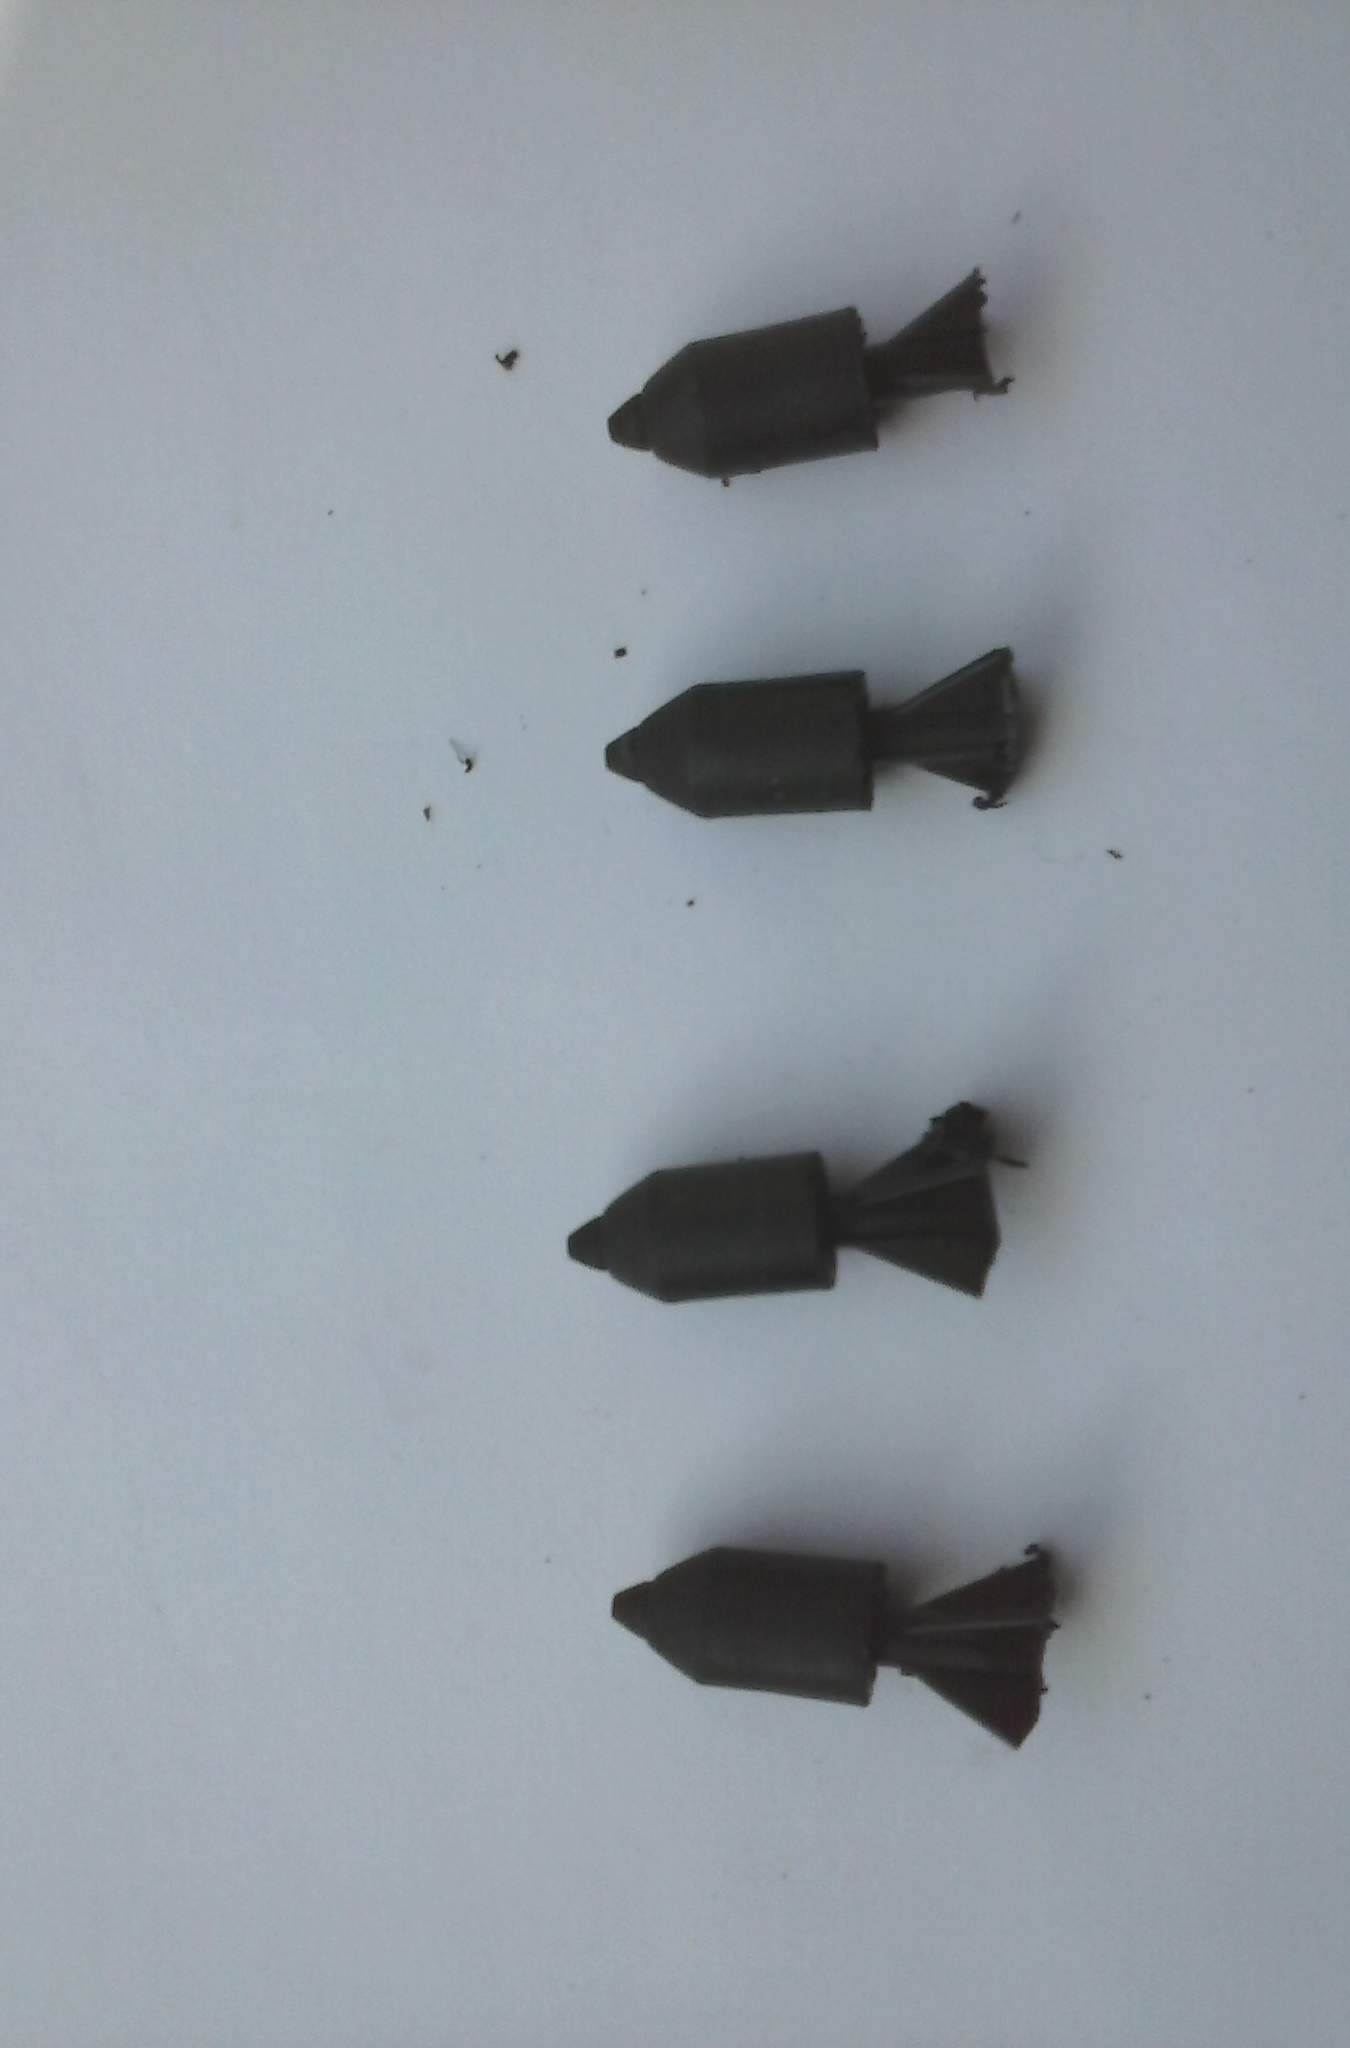
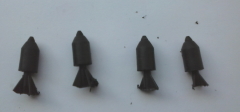
The corresponding rubber mounts from the top
side of the case, cut off during the opening
exercise.
The transformer is normally
sandwiched between these rubber mounts in the top
and bottom halves of the case, the mounts are
centered on the holes at the corners of the
transformer's laminated steel core. |
 |
|
Typical PSU Internals |
With the case open, you can see the minimal
internals. This photo is of a UK spec MTX power
supply. At the top you can see the mains cable, DPST
mains power switch and its connections to the
primary side of the transformer.
At the
bottom, you can see the connections to the MTX 5-pin
DIN power plug. Take a look at my
Technical Note
on the MTX power supply for full details on how the
power is supplied to the MTX, including the pin-out
of the DIN connector. |
|
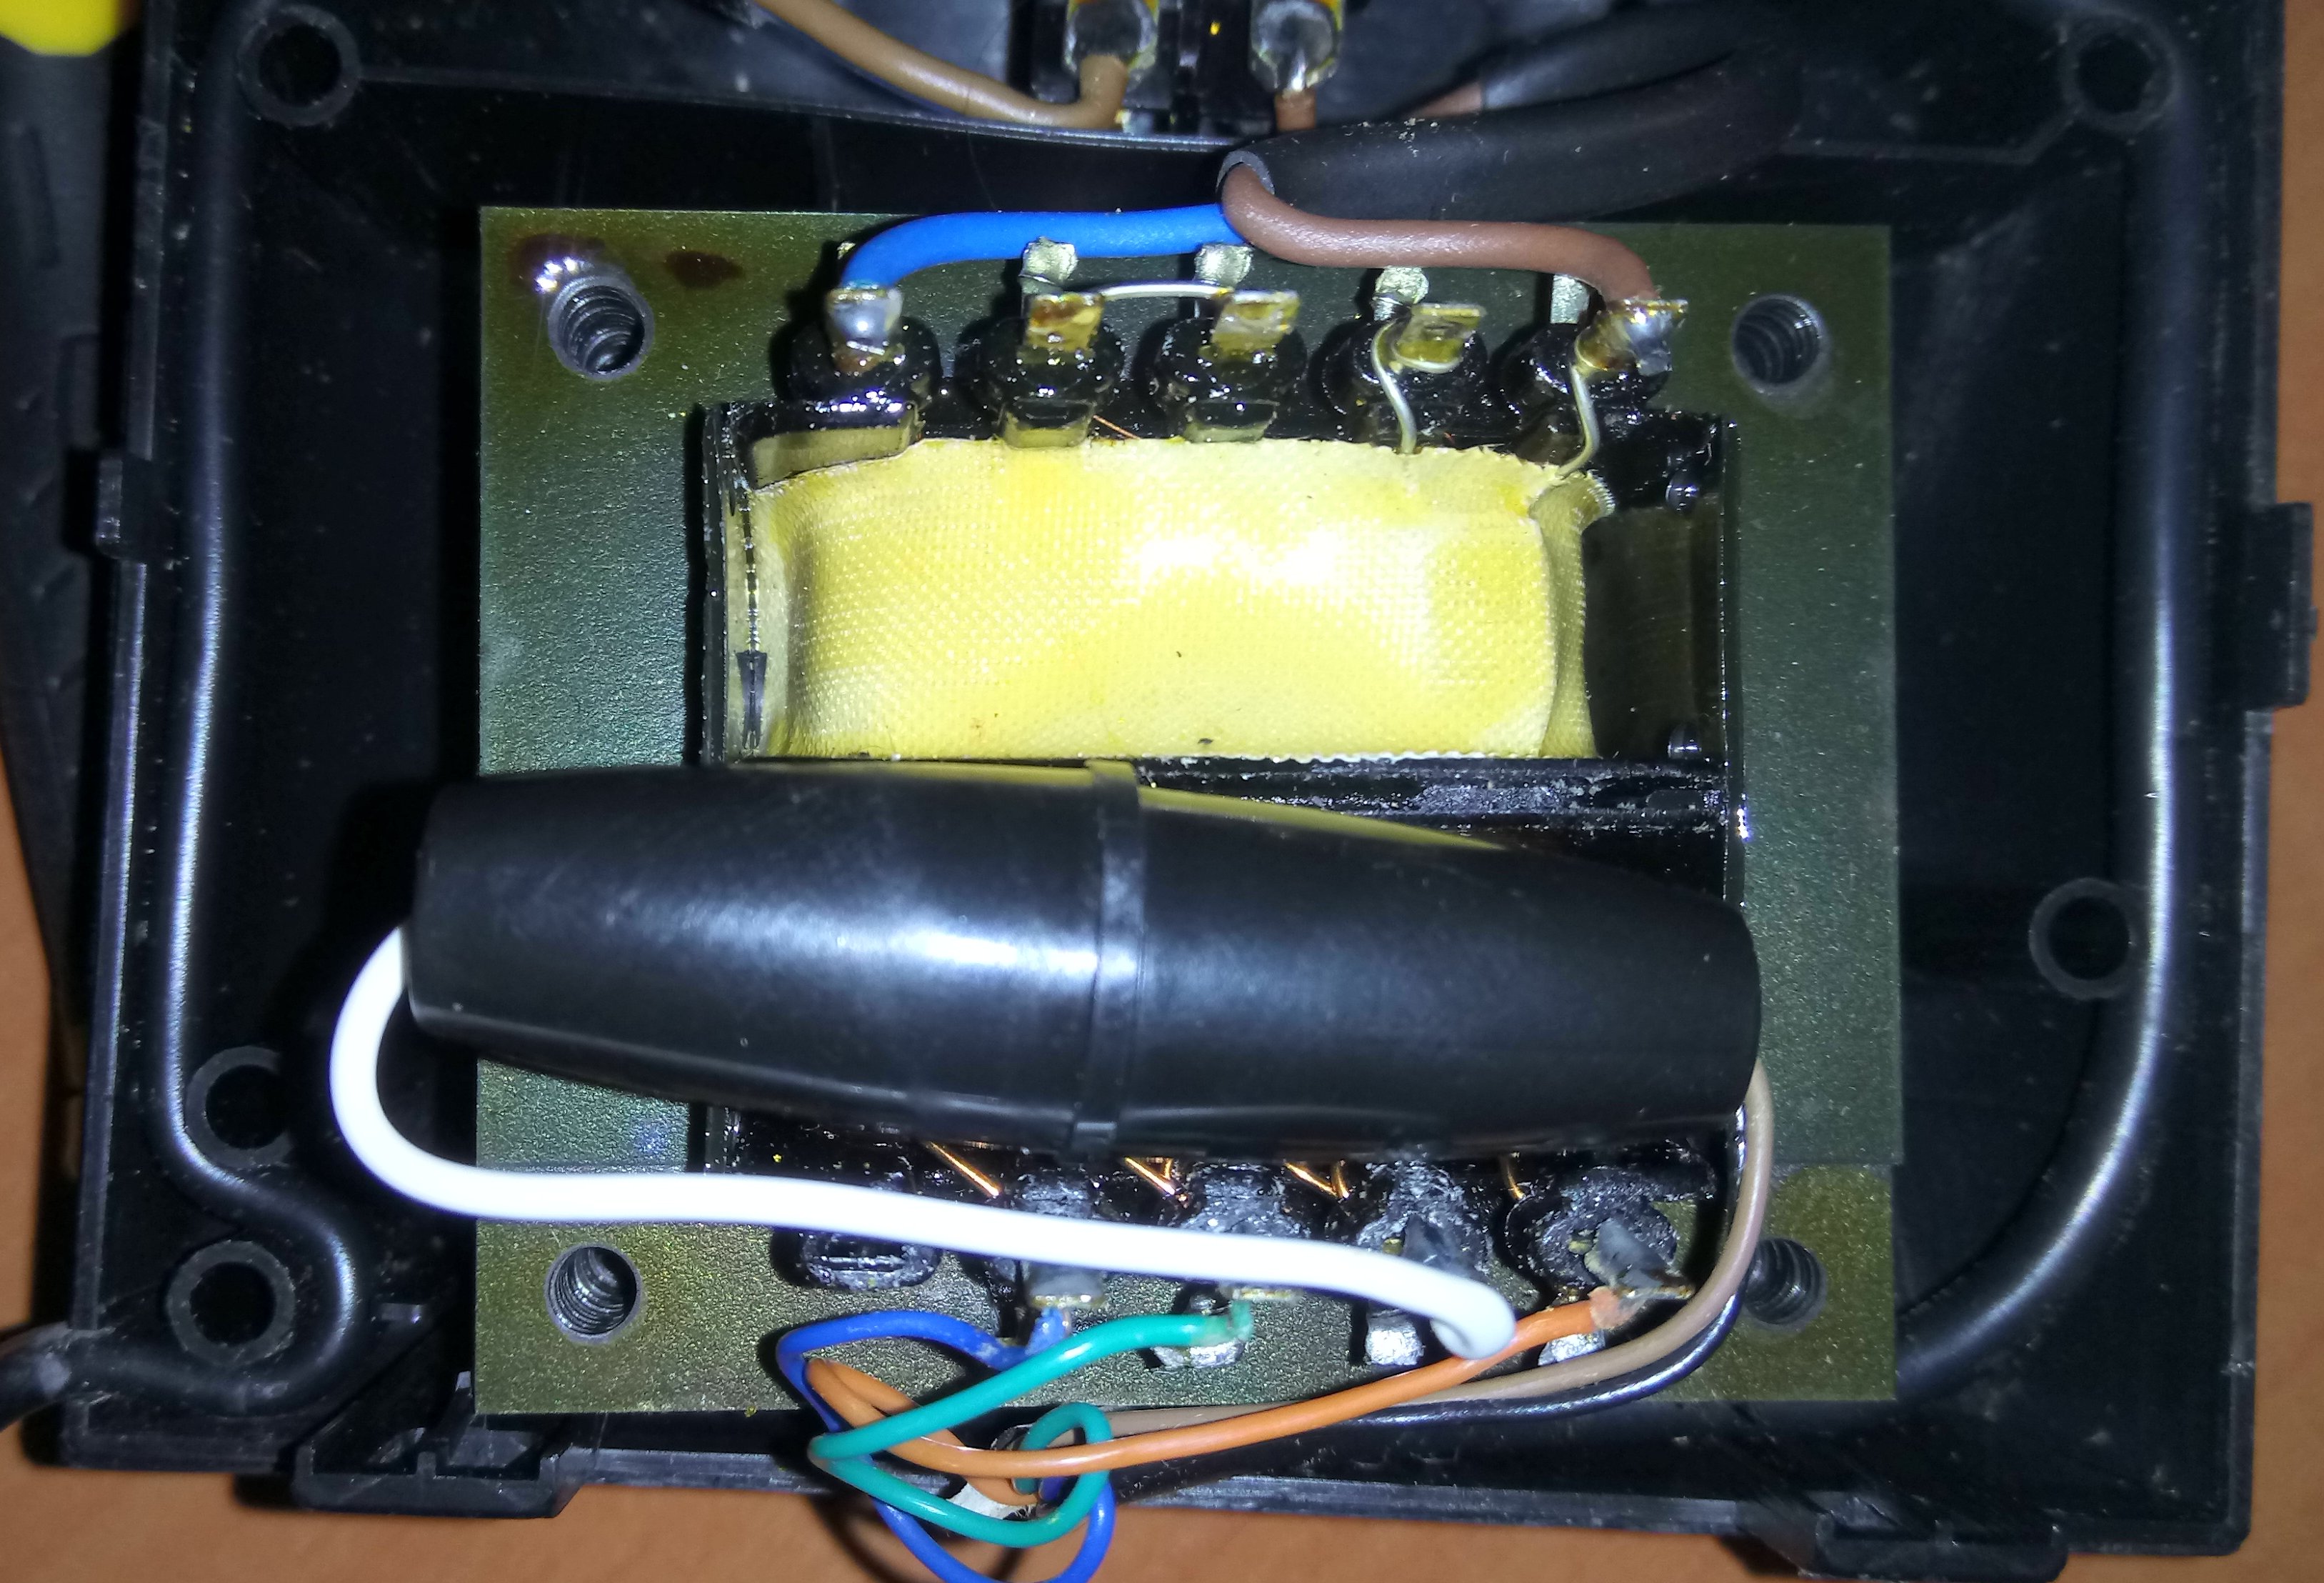
This photo, courtesy of Steven, shows the
internals of an MTX PSU with a European mains power
plug. As you can see, there is an internal fuse
connected to the right hand terminal on the LV side
of the transformer which feeds the -V input line to
the MTX.
This fuse has been seen on more than
one PSU so it was apparently fitted by Memotech but
the reason is unknown. |
 |
| |
|
| |
|
| |
|
| |
|
|