|
 |
The Memotech MTX Series |
 |
REMEMOTECH
Having seen Andy Key's
REMEMOTECH project, I had to have one!
To quote from Andy's site, "REMEMOTECH is a modern-day
re-implementation of a Memotech MTX/FDX/SDX compatible computer.
It implements enough hardware to allow it to run MTX BASIC,
various MTX games and CP/M".
Cool! (That's not a
word I often use!).
The system
runs on an
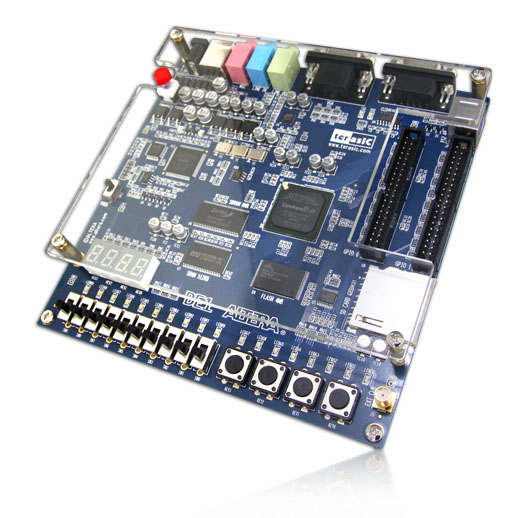
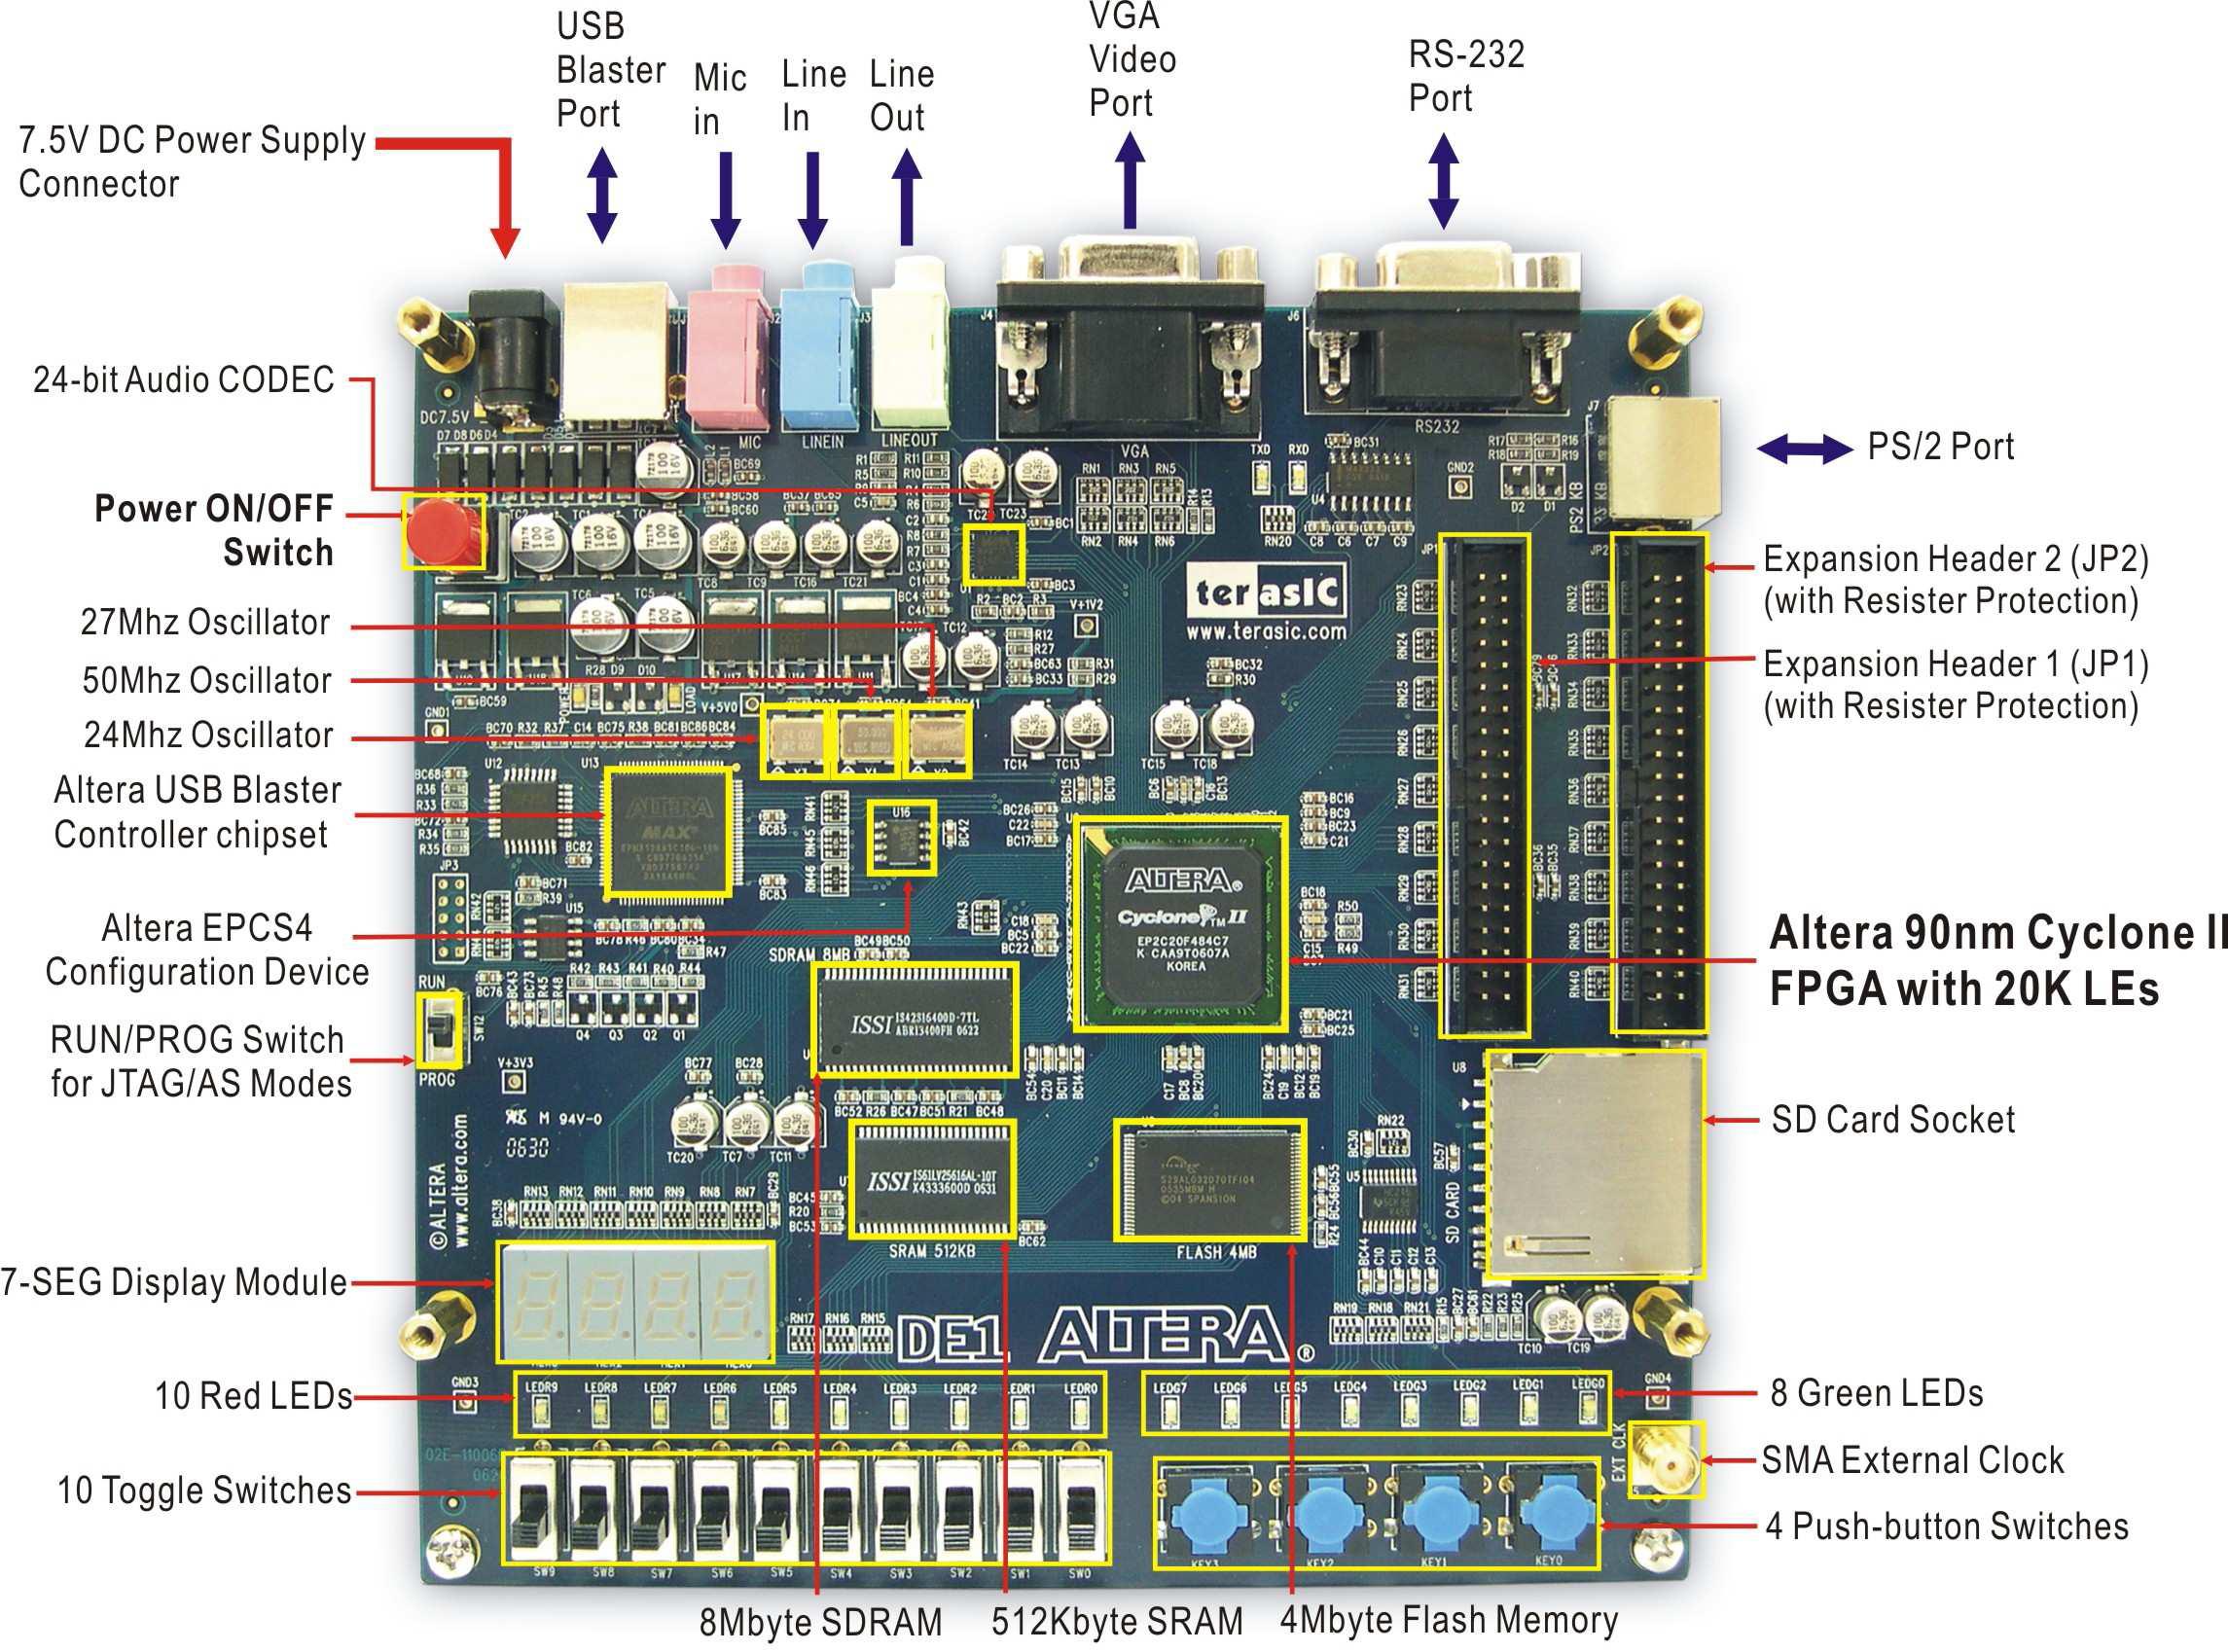
Altera DE1 "Development and Education"
FPGA board and offers the
exciting prospect of running MTX / CP/M software on real, non-Memotech, hardware.
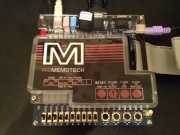
I think the great
REMEMOTECH
overlay on top of the board might have
made my mind up!
Comprehensive setup instructions are
available on
Andy's
website, but I thought it might be useful to document
realisation of the project from a user's perspective. The
notes below describe my implementation of REMEMOTECH using
Windows 7. The steps below broadly follow those written by
Andy, obviously, any errors or omissions are all mine.
_______________________________________________________________________________
"Setup"
"Setting up the DE1"
Step 1 - "Get an
Altera DE1 board"
The Altera web site is in the US, being in the UK, purchases
from the US can prove to be comparatively expensive when you
include shipping, customs duties and VAT. Although the boards
can be sourced from Taiwan, I found that a better alternative
for me was to use
Digikey UK whose prices include shipping and customs duties
(but not VAT).
Update 03/07/2012 - Board ordered through Digikey UK.
Although there is a "digikey.co.uk" website, I think that the
orders just get routed through to the US for processing but the
ordering process was easy and the on-line chat feature that I
used to ask a question was really fast and helpful. I placed the
order late in the day UK time (~ 7:30 pm), forgetting that we're
coming up to the US 4th of July holiday, so I'll probably miss
the shipping window to get it sent out before the holiday. I'll need to pay the VAT when it
arrives, but shipping and customs duties are supposed to be
included - I guess that I'll know when UPS delivers it!
Update 04/07/2012 - Shipping
The board was shipped
yesterday from Digikey, Thief River Falls, Minnesota. Digikey
provided a link to the UPS
shipment tracking details which showed that delivery
was scheduled for 06/07/2012. (I've saved the UPS tracking
details here).
Update 05/07/2012
- Delivered, two days door-to-door
- not bad at all!
Step 2 - "Download & Install
Quartus II Web Edition from Altera"
Quartus Web Edition has been updated to Version 12.0 (June
2012). The software is available free and no licensing is
required, but you do need to enter your e-mail details, either
as a one-time visitor, or you can register with them so that you
don't have to re-enter your details if you revisit. The Windows
download is 2.6 gigabytes but you can choose to just download
the installer which is supposed to reduce the total download
size by up to 50%. You can also download the complete ISO for
Windows & Linux (5.7 GB). I like to make sure that I retain a
copy of any software that I install, so I downloaded the full
Windows package.
The Installation includes the base Quartus software, plus
extensions covering the whole Altera product line. Selecting all
products on the installation menu requires 5.9GB of disc space,
I chose to install just the software for the Altera DE1
platform, i.e., just the Cyclone II option, this reduced the
disc space needed to 4.3 GB.
[It is also possible to download the free
stand-alone programmer for Quartus Web Edition from the
Altera website. The Windows download is ~112MB and the installed
program is
~760MB. This may be useful if you just want to load the
precompiled rememotech.pof file from the rememotech download
without installing the full Quartus II Web Edition software
package.]
Step 3 - "Get the
REMEMOTECH package and unzip it"
As I was still waiting for my board to arrive, I did this in
a slightly different order to Andy. I downloaded and extracted
the REMEMOTECH zip into a new folder.
Step 4 - "Start Quartus and open the
rememotech.qpf project"
When I opened up the rememotech.qpf project in Quartus, as
the project was created in the previous version of the software,
I was given the option to overwrite the database, I chose not to
and tried to open the project. There was nothing to indicate the
fact the Quartus took this as an instruction not to open the
project and it just sat there. There was a lot of HD activity at
this time, so I presumed that Quartus was doing something, but I
eventually realised that nothing was happening.
In order to open the project, you need to OK
the overwrite the database prompt and the project opens pretty quickly.
Step 5 - "Compile"
"Make yourself a coffee whilst it does its thing. It will
spit out lots of warnings, which almost always can be ignored."
I noticed that Andy's distribution already contained a compiled
project file, so I decided to wait for the board to arrive and
download the already compiled project without recompiling.
Update 05/07/2012 - Altera DE1 delivered today at
13:40
I paid a slight premium for UPS collecting the VAT; on
£110.69, the VAT should have been £22.14. The UPS invoice stated
that "Duty/VAT charges are estimated", but even I could have
estimated 20% of £110.69 closed to £22.14 than the £25.81 that
UPS charged! Still, a ~£3 handling charge for collecting the VAT is not
unreasonable, so all-in-all, I'm happy with the shopping
experience - particularly in the light of the fast delivery.
OK - down to business with configuration
the DE1 Board . . . . . . .
Step 6 - "Use the Programmer tool to
download the rememotech.pof file"
[Hint - if the
DE1 does not appear to be doing anything - the big red
button is the "ON" switch - duh!]
[When the power is
first turned on, you will see the blue power LED as well as 10 red and 8 green
LEDs turn on].
When I first connected the DE1 to a
64 bit Windows 7 PC, the USB driver did not install correctly. I
needed to manually install the driver in
"c:\altera\12.0\quartus\drivers\usb-blaster". You are then
supposed to be able to go into the Programmer and select the
"Hardware Setup" button and configure the connection to the
programmer, i.e., select the "USB Blaster" cable interface.
However, when I selected the "Add Hardware" button in "Hardware
Setup", a message box was displayed advising "Attempted
to access JTAG server -- internal error code 82 occurred". I
eventually found this explained on the Altera website (follow
the link for the relevant page), it was caused by having my
software firewall and anti-virus running when I installed
Quartus which prevented the JTAG server service from running.
The fix for this is supposed to be to manually start the JTAG
server service without the firewall or anti-virus running.
Unfortunately, the service does not appear to have been
installed correctly and was not present in the list of services
registered on the machine.
Quartus is a 32 bit program and I
was not sure how well it was going to work under 64 bit Windows
7 and whether some incompatibility may have caused the problem
with the installation of the JTAG service. I decided the
reinstall Quartus in a Windows XP Mode virtual machine with the
firewall and anti-virus program turned off. When I did this, the
JTAG server service was listed in the list of services on the
virtual machine.
When the DE1 is plugged into the PC,
you are prompted to enter a location for the USB drivers, again,
in my case, this was "c:\altera\12.0\quartus\drivers\usb-blaster".
This time, the USB drivers installed successfully and the system
reported that the "device was ready to use".
I opened Quartus, loaded the "rememotech"
project and started the programmer. The Hardware Setup showed
"No Hardware", but this time, selecting the "Hardware Setup"
button showed that the USB-Blaster was available for selection.
Select the USB-Blaster and close the "Hardware Setup" window.
The as-shipped "RUN/PROG" switch
position on my DE1 was "RUN", select "PROG".
The "rememotech.pof" file should be
visible in the upper window, select it, and hit the "Start"
button. The blue "LOAD" LED should illuminate on the DE1 and the Quartis progress bar should move as the device is programmed,
until it reaches "100% (Successful)" and the DE1 "LOAD" LED
should go out.
As per Andy's web page, the LED
display indicated "EEFF" and LED "R7" was ON.
I powered off the DE1, connected a
VGA monitor and a PS/2 keyboard and repowered the DE1 in "RUN"
mode.
_______________________________________________________________________________
"Setting up
the flash"
I had no need to rebuild the flash
image, so prepared to write the precompiled flash to SD card.
Andy's instructions say "Find a small SD Card (between 512KB and
1GB in size) which will be your "Flash image" SD Card." I didn't
think that I had any small cards of that size lying around, so
assumed that a larger size would be OK - probably just wasting space. I
then wasted a lot of time trying to get the image written to the
card and the DE1 to boot successfully. To cut a long story
short, there is a maximum size limit on the SD card that you
use. I eventually found a 256MB card from an old camera and
managed to get the flash written and the DE1 to boot correctly.
I normally use "Win32DiskImager",
an open source image writer for Windows. (This works very well
for writing Debian images for my
Raspberry PI.) You can download
the program from
here.
When I was struggling to get the DE1 to read the flash, I tried
another couple of utilities, which, once I worked out that I
needed to adhere to maximum card size limit, also worked
successfully.
HDDRawCopy is one example.
Anyway, once I did was I was told
(!) - as noted on Andy's page, the system booted to the CP/M
prompt.
This is the first time that I've
seen the Memotech CP/M console in colour! - Back in the day, I only had a
green screen mono monitor connected to the 80 column board, so
it was nice seeing it in colour for the first time.
_______________________________________________________________________________
So,
there we have it - REMEMOTECH is up and running!
Now I just need to get familiar with
using it. The next challenge is finding a way to create SD cards
on Windows so that I can run the MTX tape & disc images in
the REMEMOTECH distribution . . . .
.
_______________________________________________________________________________
"Usage"
"Accessing SD
cards on Windows"
It might be worth mentioning that I
slightly misunderstood what loading the flash image does. When
the system boots, it issues a RECONFIG command - "RECONFIG F:52,
B:18, C:19", this sets up a RAM disk "F" (which maps to drive A)
and drives "B" and "C" which are the first areas on an SD card
loaded into the DE1 card reader slot.
At this point, drives "B" and "C" are merely "placeholders" - to use these
drives, you will need to insert a properly formatted card into
the card reader. If you try to access drives "B" and "C" without
a properly formatted data card inserted (not the SD card with
the flash image), you will get a CP/M error - "Bdos Err On B:
Bad Sector".
When you expand the REMEMOTECH Zip
file, the "firmware" directory also contains two SD card
volumes, "sddisc.bin" and "sddisc2.bin". These are obvious
candidates for the "B" and "C" drives created when the system
reboots.
I had a number of problems trying to
write these images to SD card under windows. You need to write
these files to the start of the SD card. I struggled to do this
with SD cards formatted as Windows default FAT/FAT32 volumes.
There may be better ways to do it,
but I used a utility called
Partition Wizard,
There is a
home edition of this of this tool which is free for home
use. I used this tool to remove all formatting and data from the
SD card.
I could then use another free tool,
HDDRawCopy, to copy one of the SD card volumes to the SD
card. Unfortunately, this tool can only copy one file at a time
to the SD card and when it does, it erases anything else on
the card. This means that I can only put one of the distributed
CP/M file systems on a card, so I needed to use 2 cards to hold
the distributed images. I'm still working on it though......
Update: As Andy has pointed
out, you can concatenate the SD images on Windows before writing
them to the SD card using the DOS copy command; e.g., "copy /b
sddisc.bin+sddisc2.bin both.bin".
I have now got both of the disc
images copied to a single card can can run the included software
and games successfully.
REMEMOTECH is now working well and
bringing back lots of memories!
_______________________________________________________________________________
Future
I want to add the ability to display video outputs from the
emulated 80 column board and the emulated VDP at the same time
as described on the
REMEMOTECH Hardware page. Unfortunately, I can't find a VGA
breakout board to make up the required connector at this point,
but I will keep looking. (The breakout board
referenced on Andy's site is currently showing out of
stock).
Pipe Dreams
REMEMOTECH in it's current form is great, but I got to
thinking what might make it even better and thought how much
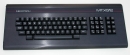
better it would be if it looked and felt more like an MTX512.
I'm sure that the few working MTX computers will eventually
grind to a halt, when that happens, we will have those great MTX
cases consigned to being oversized paper weights or door stops!
But what if REMEMOTECH could be installed inside the
MTX case to replace the Memotech motherboard? What if the MTX
keyboard could be interfaced to the DE1 and additional software
added to decode the MTX keyboard codes? I know this would just
be delaying the inevitable - my keyboards are definitely showing
their age - but maybe a good strip-down and clean would keep
them going for a few years longer.
I suppose consideration would need to be given to accessing
the switches, buttons and flash card, but that should not be too
hard. For example. if you leave the two, rear upper, case screws
undone, the keyboard hinges up, which would give access to the
DE1. Alternatively, maybe the DE1 could be orientated such that
the Flash card is aligned with the cartridge port cut-out on the
left hand side of the case and the DIP switches replicated on
the DE1 GPIO and brought out to a DIP switch package mounted on the
keyboard end plate? In either case, the original MTX rear
plastic moulding would need some extra height added to allow for
the extra head height of the DE1 compared to the original
motherboard.
Probably not a viable option, but it's nice to dream .......
|